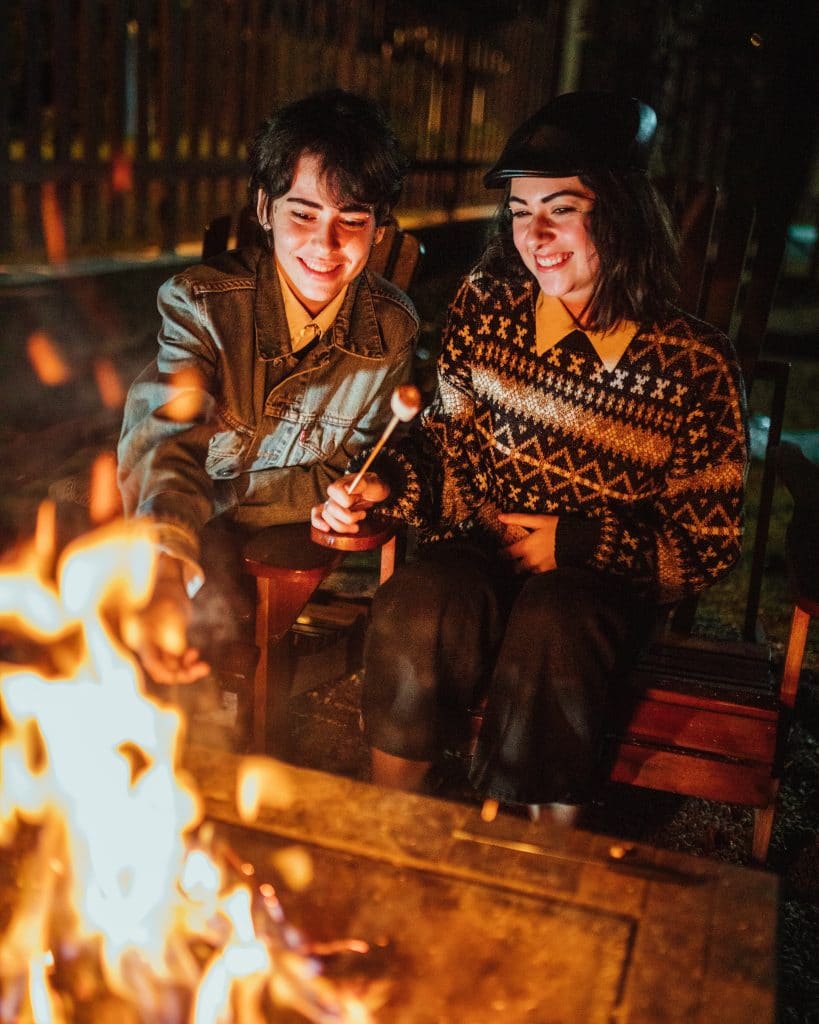
Apart from the peace and quiet, another reason for going camping is the food. It is almost as if everything tastes better when burned over open flames. Toasted marshmallows have crunchy outsides that hold the delicious liquid that we all enjoy.
Roasting marshmallows is quite easy. You only have to put a marshmallow at the end of a stick and put it over the fire. But that is how a camping amateur would roast a marshmallow. There is a hidden science behind making the perfect marshmallow.

1. Marshmallow roasting sticks
Not any piece of wood can be used for roasting marshmallows. Sure enough, you can go and get some from your local sporting goods store. But you don’t have to spend a lot to get the right type of stick.
If you are going stick hunting, the stick to be chosen must meet two conditions. One, it must be of the right thickness. Two, it must be as long as your arm.
To ensure that the marshmallow sits properly on the stick, the ends must be sharpened. Using a pocket knife, simply carve the blunt edge of the stick.
2. The fire pit
While a large campfire with huge flames is perfect for sitting around, it is very bad for marshmallow roasting. That kind of flame makes the marshmallow burn to a crisp very quickly.
If you want to get the perfect marshmallow, wait until the flames die down. It is much better when the fire pit is nothing more than just glowing coals.
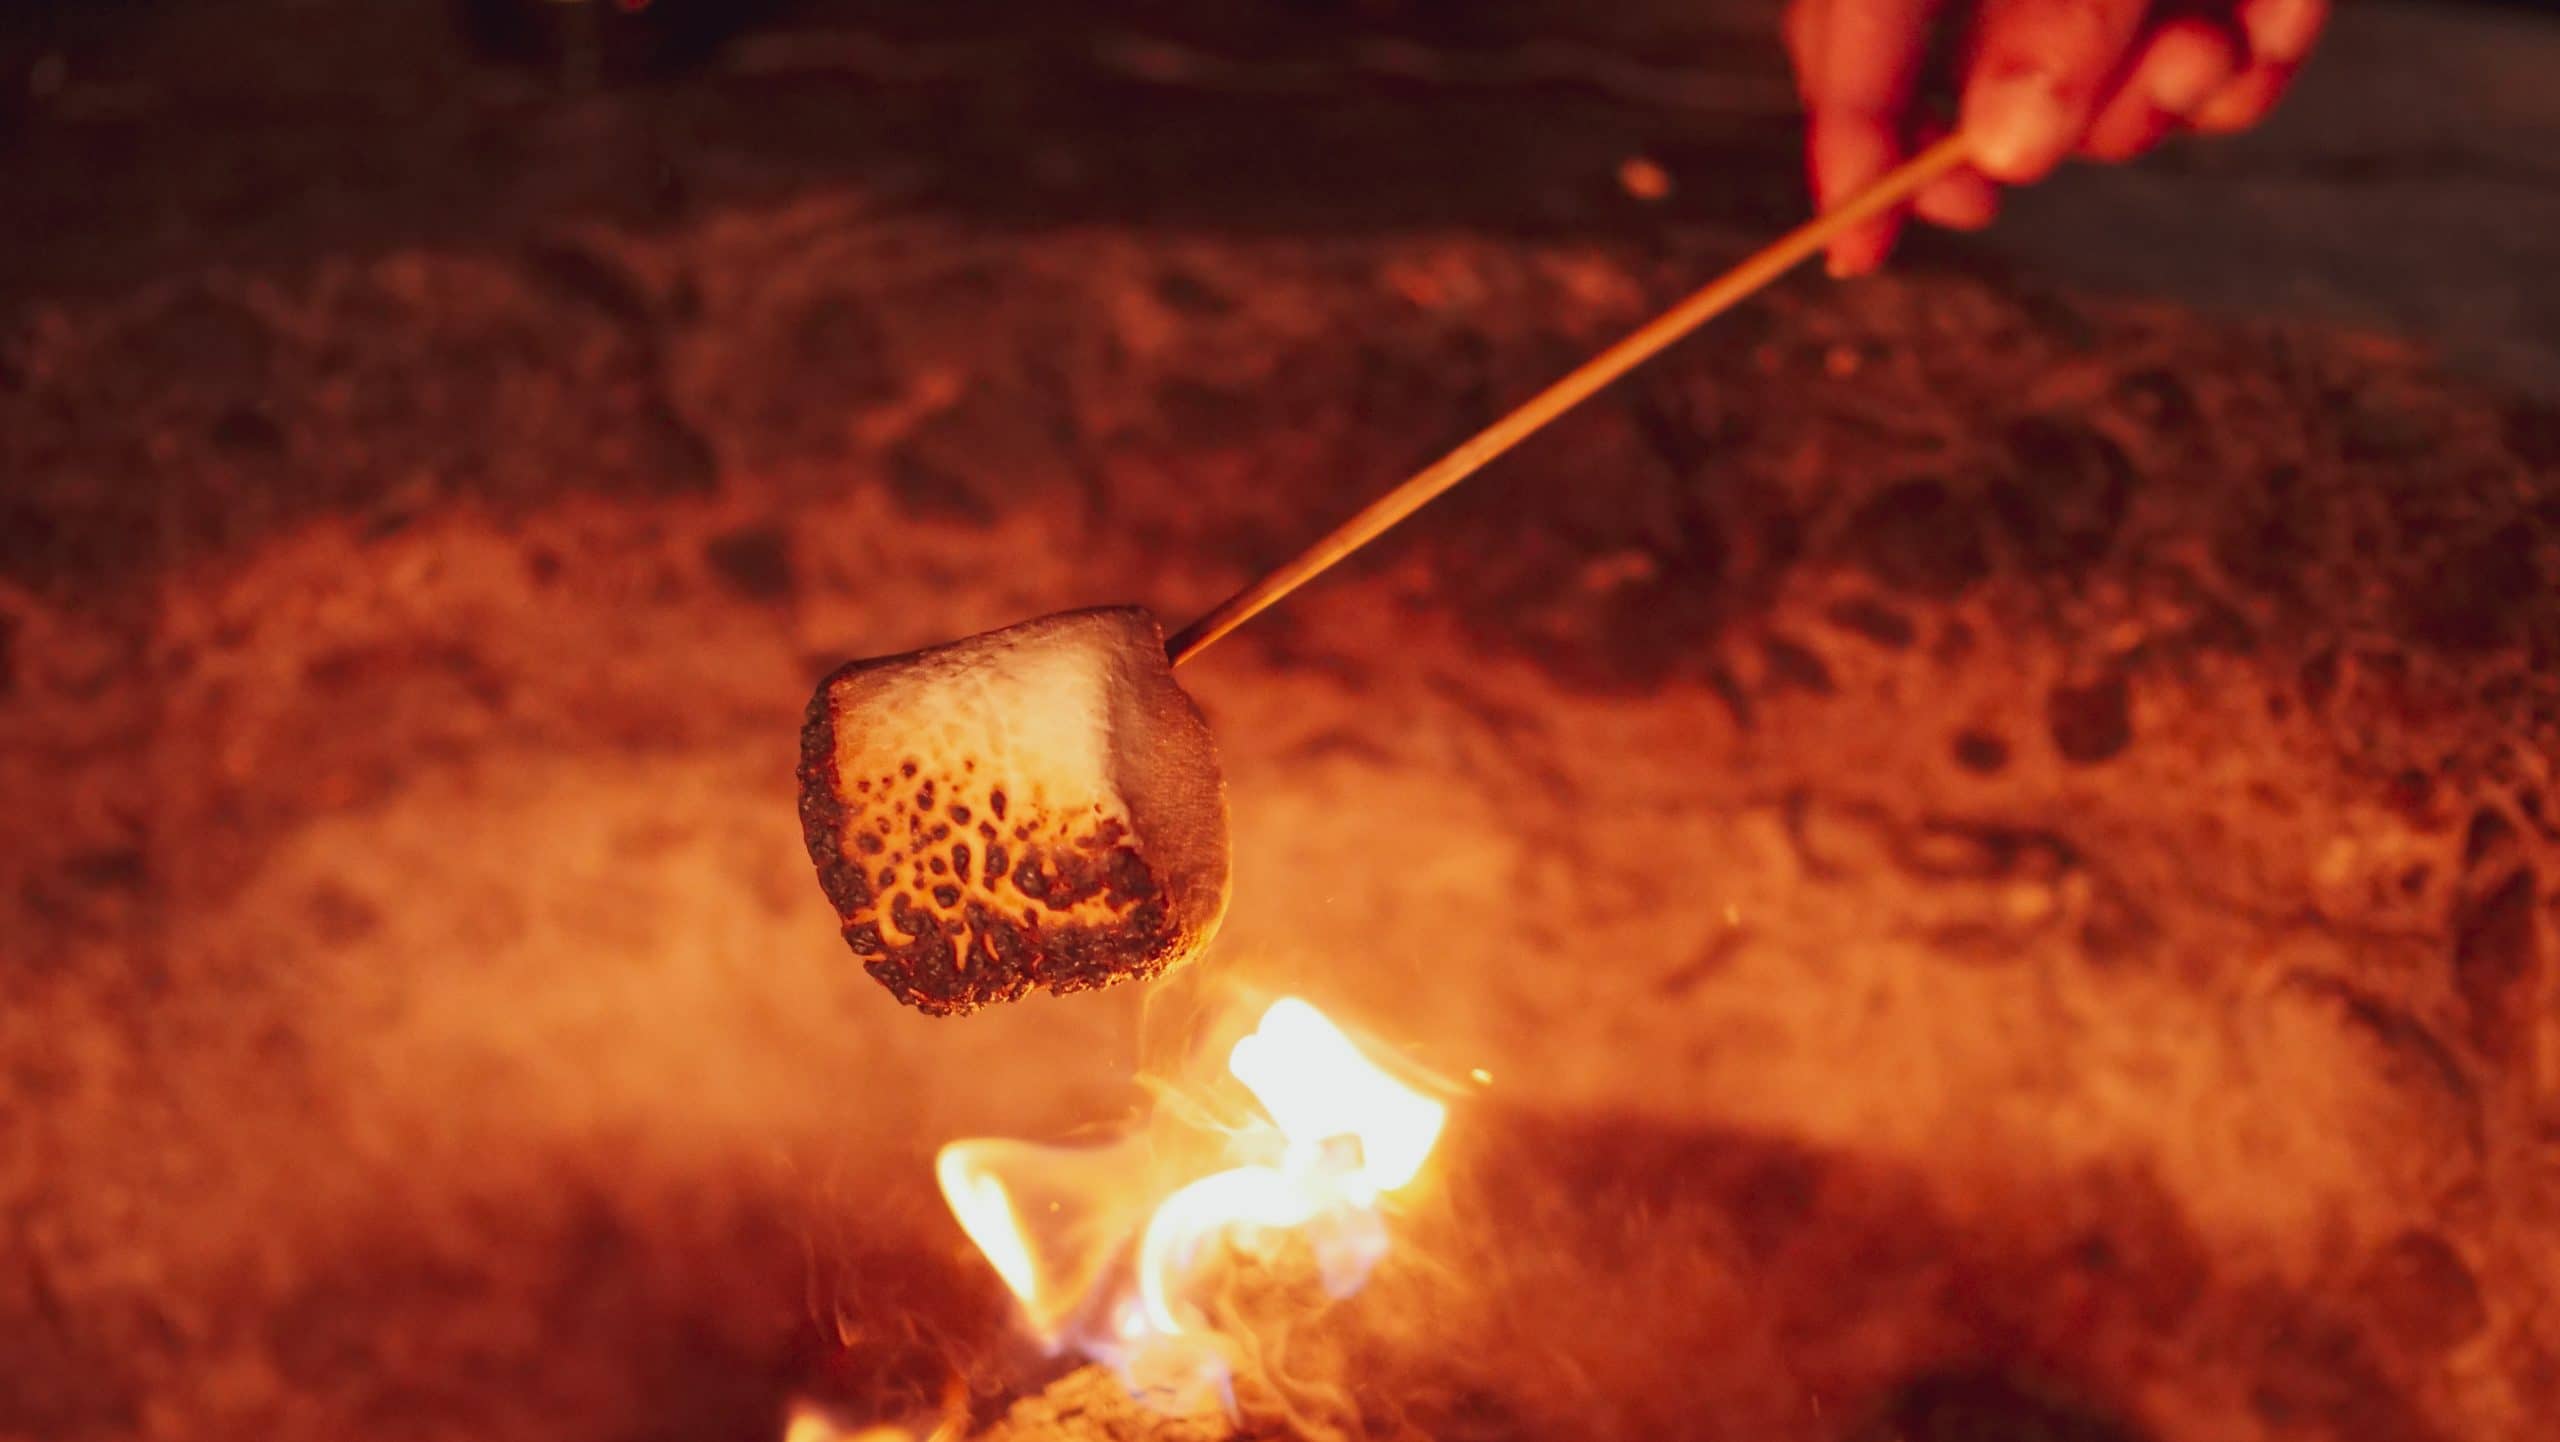
Roasting over glowing coals ensures that the inside of the marshmallow and the outside cook at the same time. When you use huge flames, the exterior gets burned before the interior starts to cook.
3. Positioning the marshmallow
Another very important thing to take note of is where the marshmallow is held. The perfect roasting temperature and condition is around 6 inches above the coals. To get a well-toasted marshmallow, the coals should be shaped like a cave. This will allow the marshmallow to be heated equally on all sides.
4. Rotating the marshmallow
One of the biggest secrets to the perfect marshmallow is patience. The marshmallow has to be kept moving. Keep rotating it slowly, smoothly, and continuously. Allowing the marshmallow to sit in the fire will simply cause it to get burnt.
Keep rotating the marshmallow for around 5 minutes. While this might seem to be a long period of time for a marshmallow, the process cannot be rushed. Once you get impatient, the marshmallow will not turn out as expected.
5. If the marshmallow catches fire
If you let the marshmallow reach the flames, and it caught on fire, do not panic. Simply remove it from the fire and blow gently on it. A marshmallow can be quite dangerous when it’s on fire.
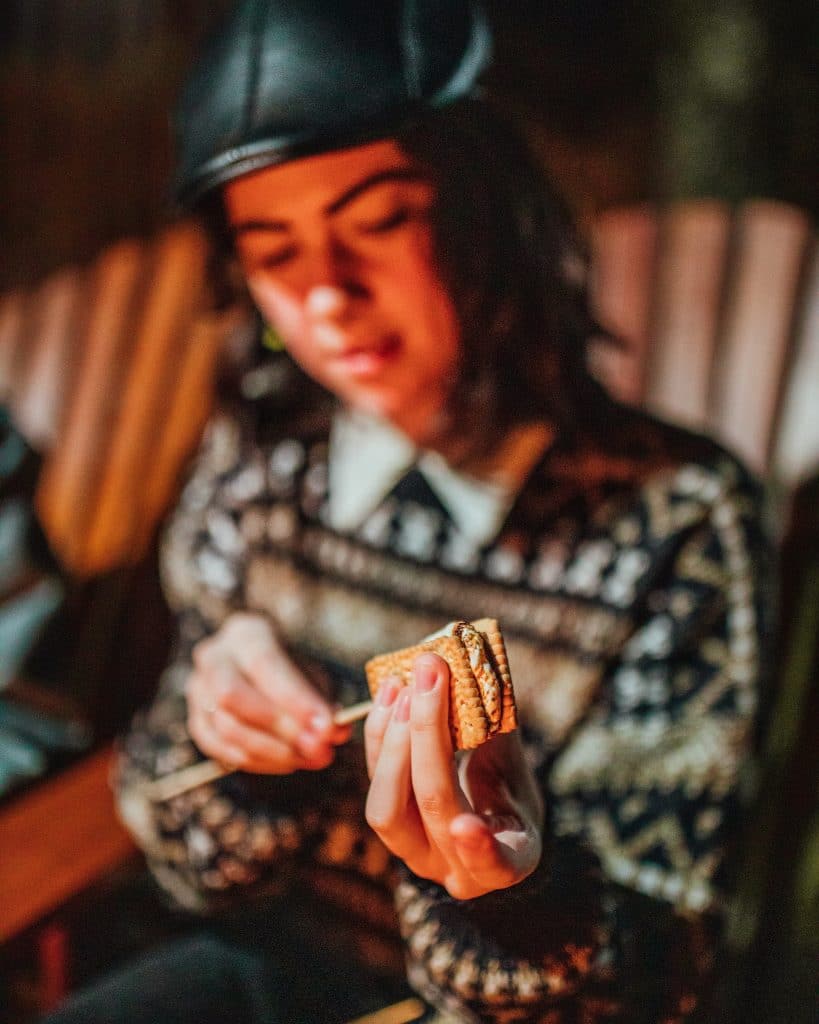
After the marshmallow is properly roasted, it is time to make the s’more. S’mores have, over time, become a traditional snack at campsites.
Smores have been a part of campfires for almost a century. The first recipe for “Some Mores” appeared in a Girl Scout publication in 1927. The name was later shortened to S’mores and eventually to Smores. (I’ve also heard them pronounced “Schmores”.)
S’mores are usually made around a campfire. The marshmallows are roasted until they start to melt, and then they are sandwiched by the graham crackers and pieces of a chocolate bar. Kids will usually press this combination together so that the hot marshmallow will melt the chocolate as well.

Tips
Use fresh marshmallows.
Have you noticed that marshmallows get hard and stale after a while?
You want a nice soft marshmallow that will melt easily.
Use a thin milk chocolate bar.
Don’t use the chunky kind. The thinner the bar, the more easily it will melt.
Break it into small squares.
Assemble your ingredients ahead of time.
Get the graham crackers and chocolate ready before you start roasting your marshmallows.
Don’t wait until the marshmallow is cooked before hunting for the rest of your supplies!
Work quickly.
You need to assemble the Smores while the marshmallows are hot enough to melt the chocolate. As soon as the marshmallow is roasted, slide it off the marshmallow roasting stick onto the chocolate. Immediately cover with the second graham cracker.
Squeeze the crackers together gently so that the marshmallow innards squish out the sides.
You’ve probably noticed that Smores are not a healthy snack! We save them for a special treat. Of course, once you know how to make Smores, your children will want to eat them every night. To avoid any arguments, I suggest that you decide in advance how many batches of Smores you want to eat on your camping trip. Bring just enough supplies to make that amount. When they’re gone, they’re gone!
